How to Take the Perfect Salar de Uyuni Photo
Last updated:
Perception photos at Salar de Uyuni look so effortlessly fun but they are actually quite tricky to capture! In this post, I share tips learned for capturing the perfect Salar de Uyuni photo!
Disclosure: Booking your tour/accommodations via the links in this guide will earn me a small commission at no extra cost to you. Earnings will go back to the maintenance of the travel guides provided on The Thrill of Pursuit. Thanks for your support!
<3 Dominique

At the time of writing, no landscape on Earth has blown my mind quite like Salar de Uyuni. I went there during the dry season. Upon entering the salt flat, I was engulfed by the breathtaking, desert-like landscape. The stark-white grounds which were quilted in a polygonal pattern stretched out as far as my eyes can see. The terrain was so perfectly uniform that it seemingly calls for perception distortion photos.
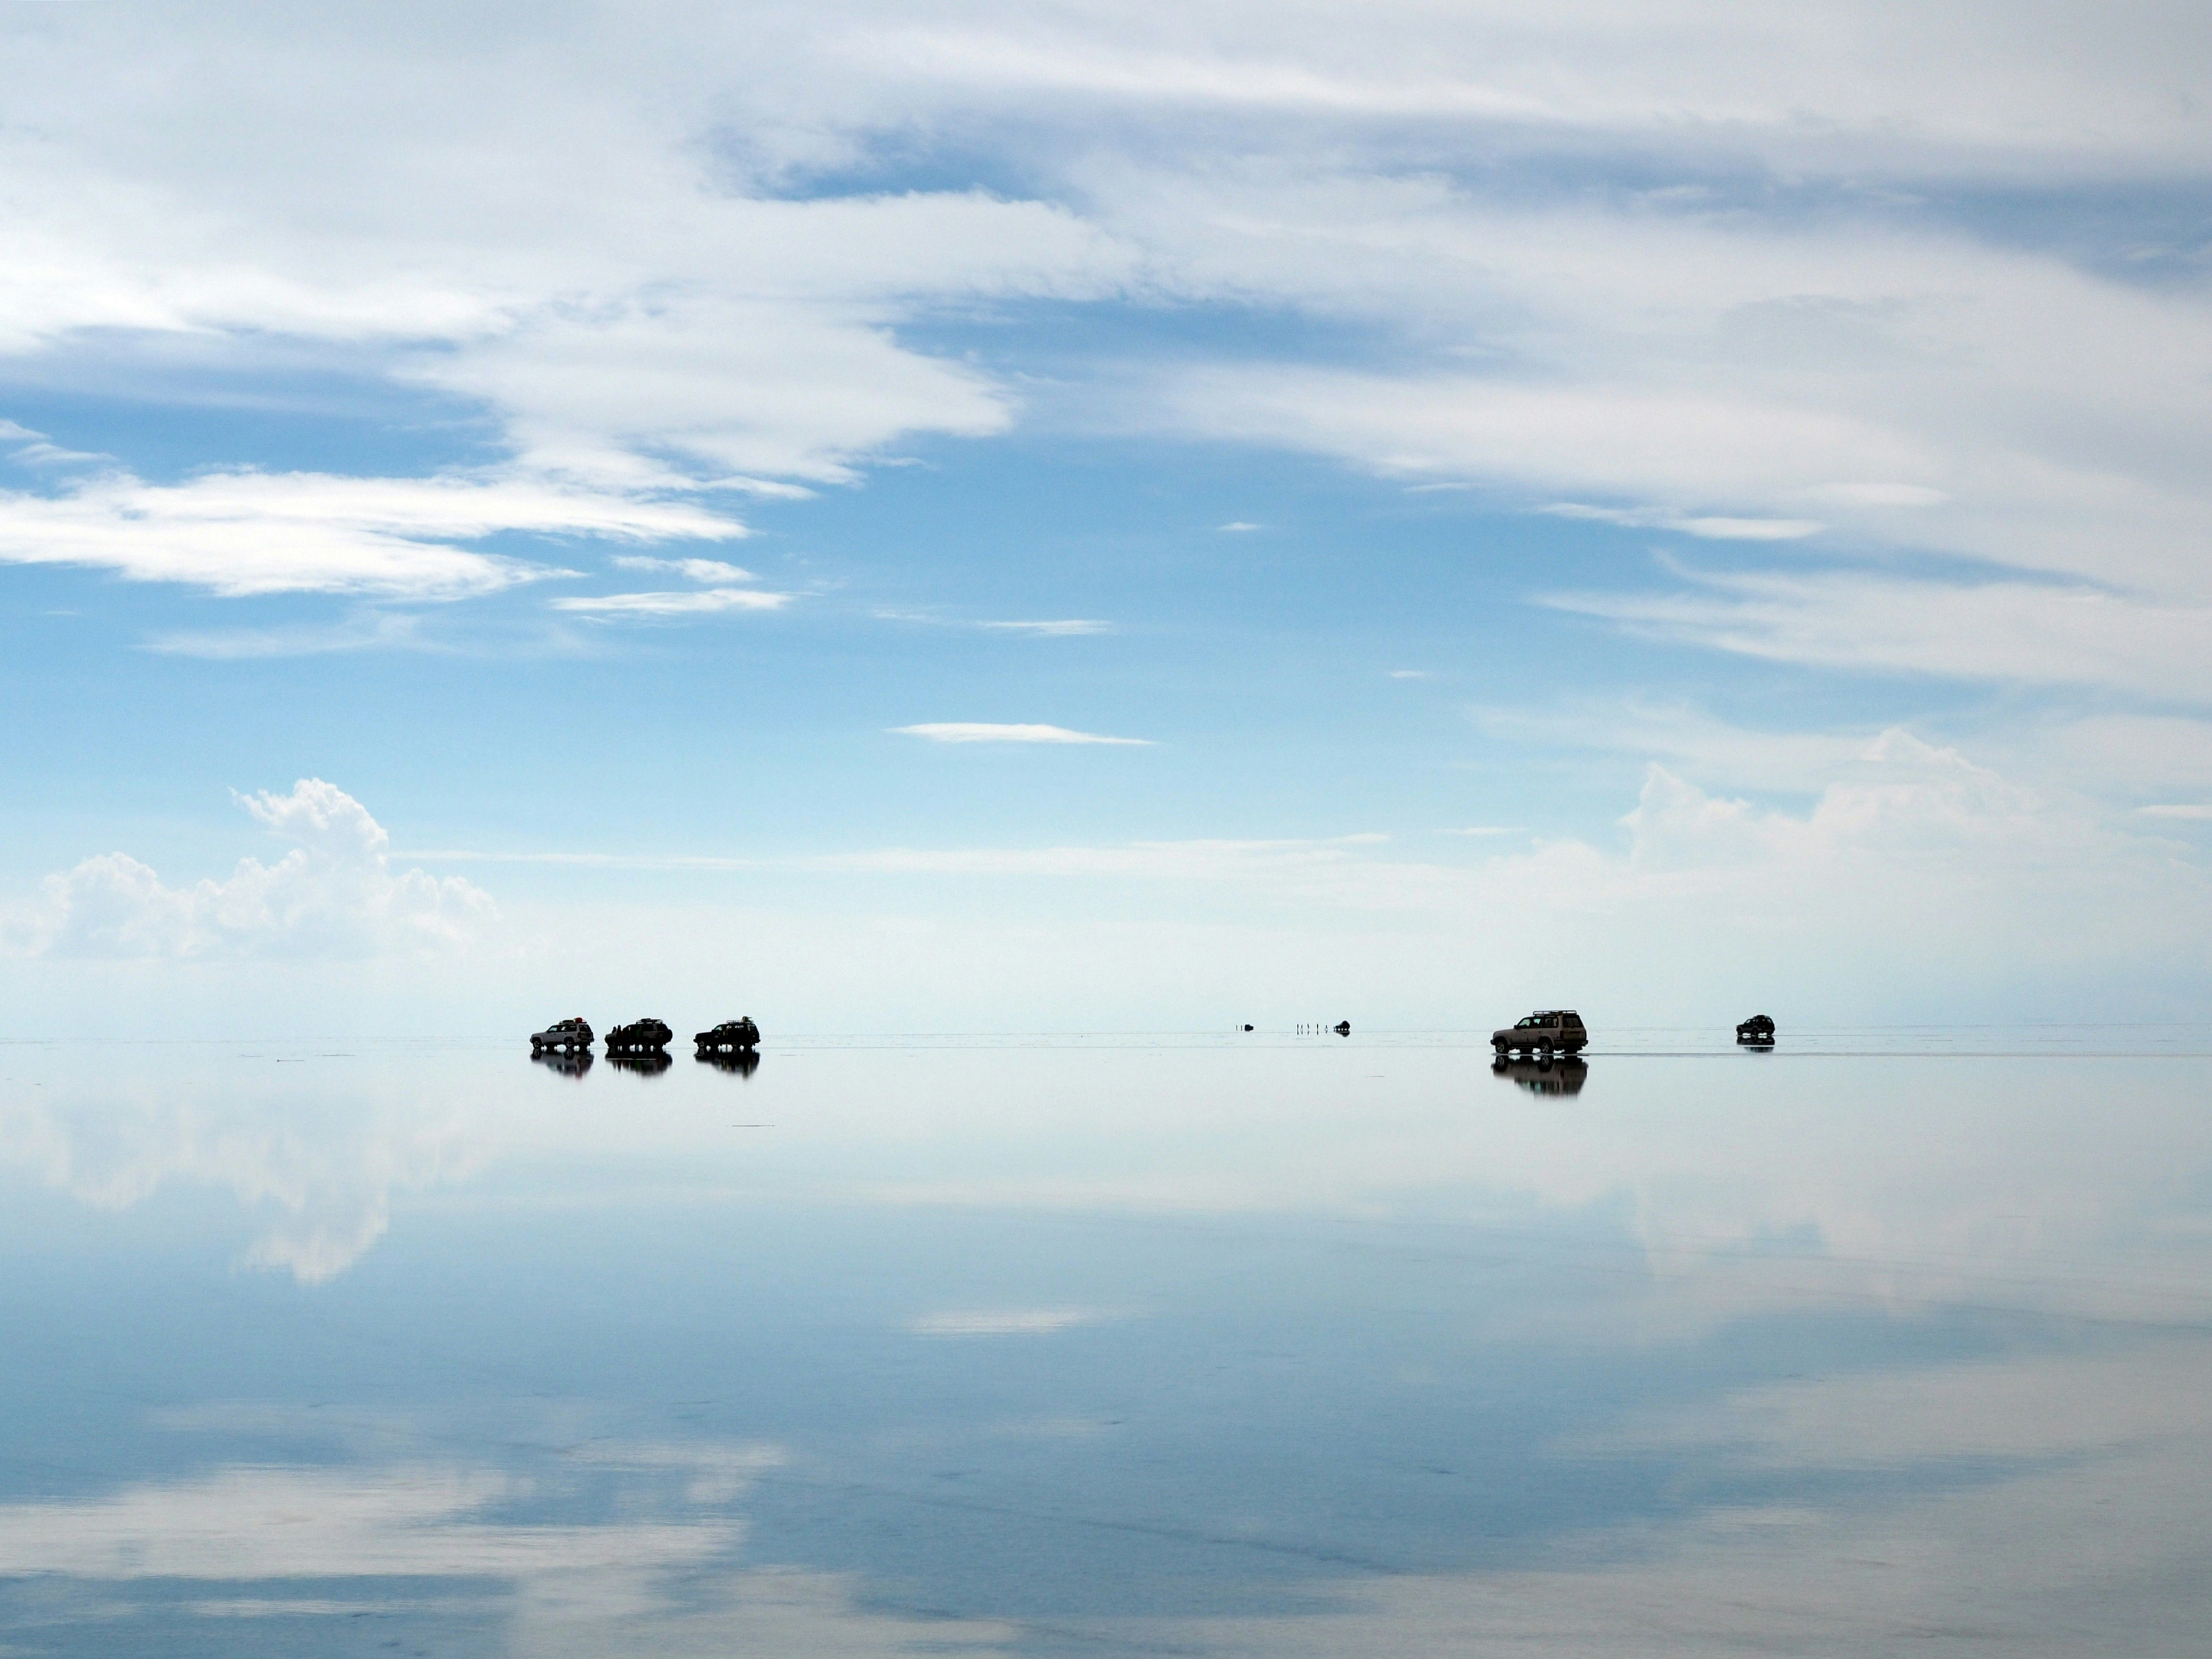
During the rainy season, the salt flat gets flooded with a thin layer of water from some nearby lakes. This in effect creates the world’s largest reflective pool. Though I haven’t experienced Salar de Uyuni during rainy season, you can bet your bottom dollar that I’ll have my camera in tow when I inevitably go during this time of year.
Though those perception photos are pervasive on any image search for Salar de Uyuni, they are actually quite tricky to capture. In this post, I share my tips on how to get that perfect Salar de Uyuni photo!
But first, context…
What is Salar de Uyuni?
Salar de Uyuni is the world’s largest salt flat. It is what remains of a dried up prehistoric lake. Today, Salar de Uyuni is a desert-like landscape comprising of bright white, salt formations and cacti-covered islands. The white crust that covers this area serves as source of salt and is VERY rich in lithium. It is estimated that between 50 and 70% of the world’s known lithium reserves are found here! Salar de Uyuni stretches out for over 10,000 square kilometres (3,900 sq mi) in area.

How to get there…
Salar de Uyuni is located in the southwest region of Bolivia. It is close-ish to Bolivia’s borders with Chile and Argentina, making it a perfect compliment to itineraries that include those countries. I highly recommend visiting the salt flat via a tour for a number of reasons (which I will explain in great detail in a subsequent post…) Most tours depart from the cities listed below.

From Uyuni, Bolivia
Because of its proximity to the salt flat, most travellers start their tour from Uyuni. Tours departing from Uyuni can be booked in advance either online or from tour agencies in La Paz. You can also just arrive in the small town and explore your tour options in the main square which is packed with tourism agencies.
Travel tip: it is best to research tour operators online on sites like Viator or Get Your Guide. There were many Uyuni tour companies that have a bad reputation (which grouped the rest with them) so I highly recommend reading up on what other travellers have to say about their experience with a company to see if they are truly reputable.
Day trips into the salt flat is only available via Uyuni. Alternatively, you can also embark on a three-day tour from here if you would like to see more of the wildlife in Salar de Uyuni.

From San Pedro de Atacama, Chile
Tours departing from San Pedro de Atacama is a great option for those who want to see the salt flat as well as Chile. Only three-day tours depart from San Pedro de Atacama because of distance.
From Tupiza, Bolivia
Tupiza is pretty close to Bolivia’s border with Argentina. This makes it the perfect departure point for those coming from that direction. Because Tupiza is over 200 kms away from Uyuni, most tours starting here are four days long.

Best time to visit…
Salar de Uyuni has 2 distinct seasons: the rainy season and the dry season. Depending on when you visit, both seasons offer conditions for the perfect Salar de Uyuni photo!
The rainy season is between December and April. During this time the salar gets covered in a thin layer of water which creates the world’s largest reflective pool. Visitors will get to enjoy the mirror effect of the salt flat with the skies above it in this season.


Travel tip: heavy rainfall between December and January often forces tour cancellations because floods make the salar inaccessible.
The dry season is between May and November. During this time, the water from the rainy season has mostly evaporated revealing the stark-white crust that covers the salar. The ground also hardens during this time and visitors can visit areas that are inaccessible during the rainy season. The dry season also presents the perfect conditions for those perception photos.


Travel tip: expect tour prices to go up between June and August which is high season for the salt flat. Farmers burn forest overgrowth around August and September which may produce smog over the salar.
Salar de Uyuni photography – ideas and tips on getting the perfect perception distortion shot…
Salar de Uyuni guides know that taking perception distortion shots are a big draw for visitors. For them, mastering how to take the perfect perception picture would be such an asset. These Salar de Uyuni photos are so pervasive on social media that they seem effortless but they’re actually quite tricky.
If you want to take your own pictures or if your shots aren’t coming out the way you envisioned, here are my tips for taking perception distortion shots.

Photographer position matters.
Depending on the type of picture you are trying to take, how the photographer stands makes a difference as illustrated in the pics below.


The greater the distance between subjects, the blurrier they are.
Subjects do not need that much distance between them when taking perception shots at Salar de Uyuni. The further away the subjects are from the camera, the harder it will be to capture sharp images of each within the same frame.

Beware of shadows.
Shadows within your Salar de Uyuni photo could give away the depth perception trick you are trying to play with your audience. I would recommend checking where the shadows lie within your shots to make sure that you are leaving with photos that you are happy with.
When I went to Salar de Uyuni, we started taking our perception shots late in the afternoon. Though at certain angles our shadows were long, realigning our position relative to the sun and having the camera as low to the ground as possible fixed that.

Embrace how kitschy, ridiculous(ly fun!) this experience is.
There are plenty of Salar de Uyuni perception photos that are kitschy (cheesy? corny?) to be found online. Fact. But there are also many that are awe-inspiring and look so ridiculously fun. Also a fact. What makes a photo kitschy or awe-inspiring is subjective. At the end of the day, if YOU’RE happy with your photos then that’s all that really matters.
The awe-inspiring photos for me are the ones where the subjects obviously embraced how silly this photo shoot is and got ridiculous with it. Their impressions/body language made me buy into the fantasy that they really were being chased by dinosaurs or they truly feared being squashed by a giant.
When taking your perception shots at the salar, release your inhibitions. Don’t be afraid to get silly and messy. Have fun with it! When you’re genuinely having fun, the camera captures that and THAT is crucial for the perfect perception shot.
I was definitely the least shy of my group (context: we all met each other that day). My jumping shots and facial impressions definitely induced some laughs but at the end of the day I walked away with the photos that I wanted ¯\_(ツ)_/¯.

Create a list of Salar de Uyuni Photos you want to take.
If travelling with a group to Salar de Uyuni, you should be cognizant that other people want to take their photos too. Time could be saved if you show up with a list of shots that you want to try. Also, if you show up with 0 ideas, you risk missing your turn because you do not know what to ask of your photographer. And while the photographer/guide may have ideas, those ideas may not be to your taste.
Below are just some ideas with tips on how to take each.
Stage an Epic Dinosaur Battle

How to get the shot:
- Prop size matters! If the prop is too small, it will be hard to fit both prop and human subject into the frame. The human subject would need to be further away from the camera in order to fit. This would then create focus issues between the prop and the human subject. Pick a prop too large and both prop and human subject would need to be further away from the camera which, again, creates focus issues. Props that are (give or take) 30 cms tall are the ideal height.
- Pack your desired prop to avoid disappointment. In a pinch, you can buy your prop at nearby Colchani.
- Photographer lies flat on their stomach.
- Camera needs to be on the ground or as close to the ground as possible.
- The prop should be placed as close to the camera as possible. The closer it is to the camera, the clearer it and the human subject will appear.
- Direct the human subject to walk away from the camera until the desired scale relative to the prop.
- Alignment between prop and the human subject is a matter of timing if taking an action shot (i.e. jumping shots)

Ants on/in a Food Container

How to get this shot:
- Tips found under “Stage an Epic Dinosaur Battle” can be applied for this one as well.
- Other ideas: get your group to crawl out of a Pringles can, pretend you are about to get cooked in a pot or eaten off a spoon…
Attack of the 30 Foot Person

How to get this shot:
- Photographer is flat on their stomach.
- Camera is on the ground or as close to the ground as possible.
- The “giant” stands as close to the camera as they can but should be standing far enough so that their entire body is in the frame.
- Direct the rest of the group/Subject 2 to walk far away enough from the camera until they are at the desired scale relative to the “giant”.
- Any interaction between the “giant” and the rest of the group/Subject 2 is a matter of alignment between photographer and the subjects.

Attack of the 30cm Person

How to get this shot:
- You can pretty much follow the same tips from “Attack of the 30 Foot Person”.
- Slight difference: the subject closest to the camera REALLY has to sell the shot with their facial impressions 😉
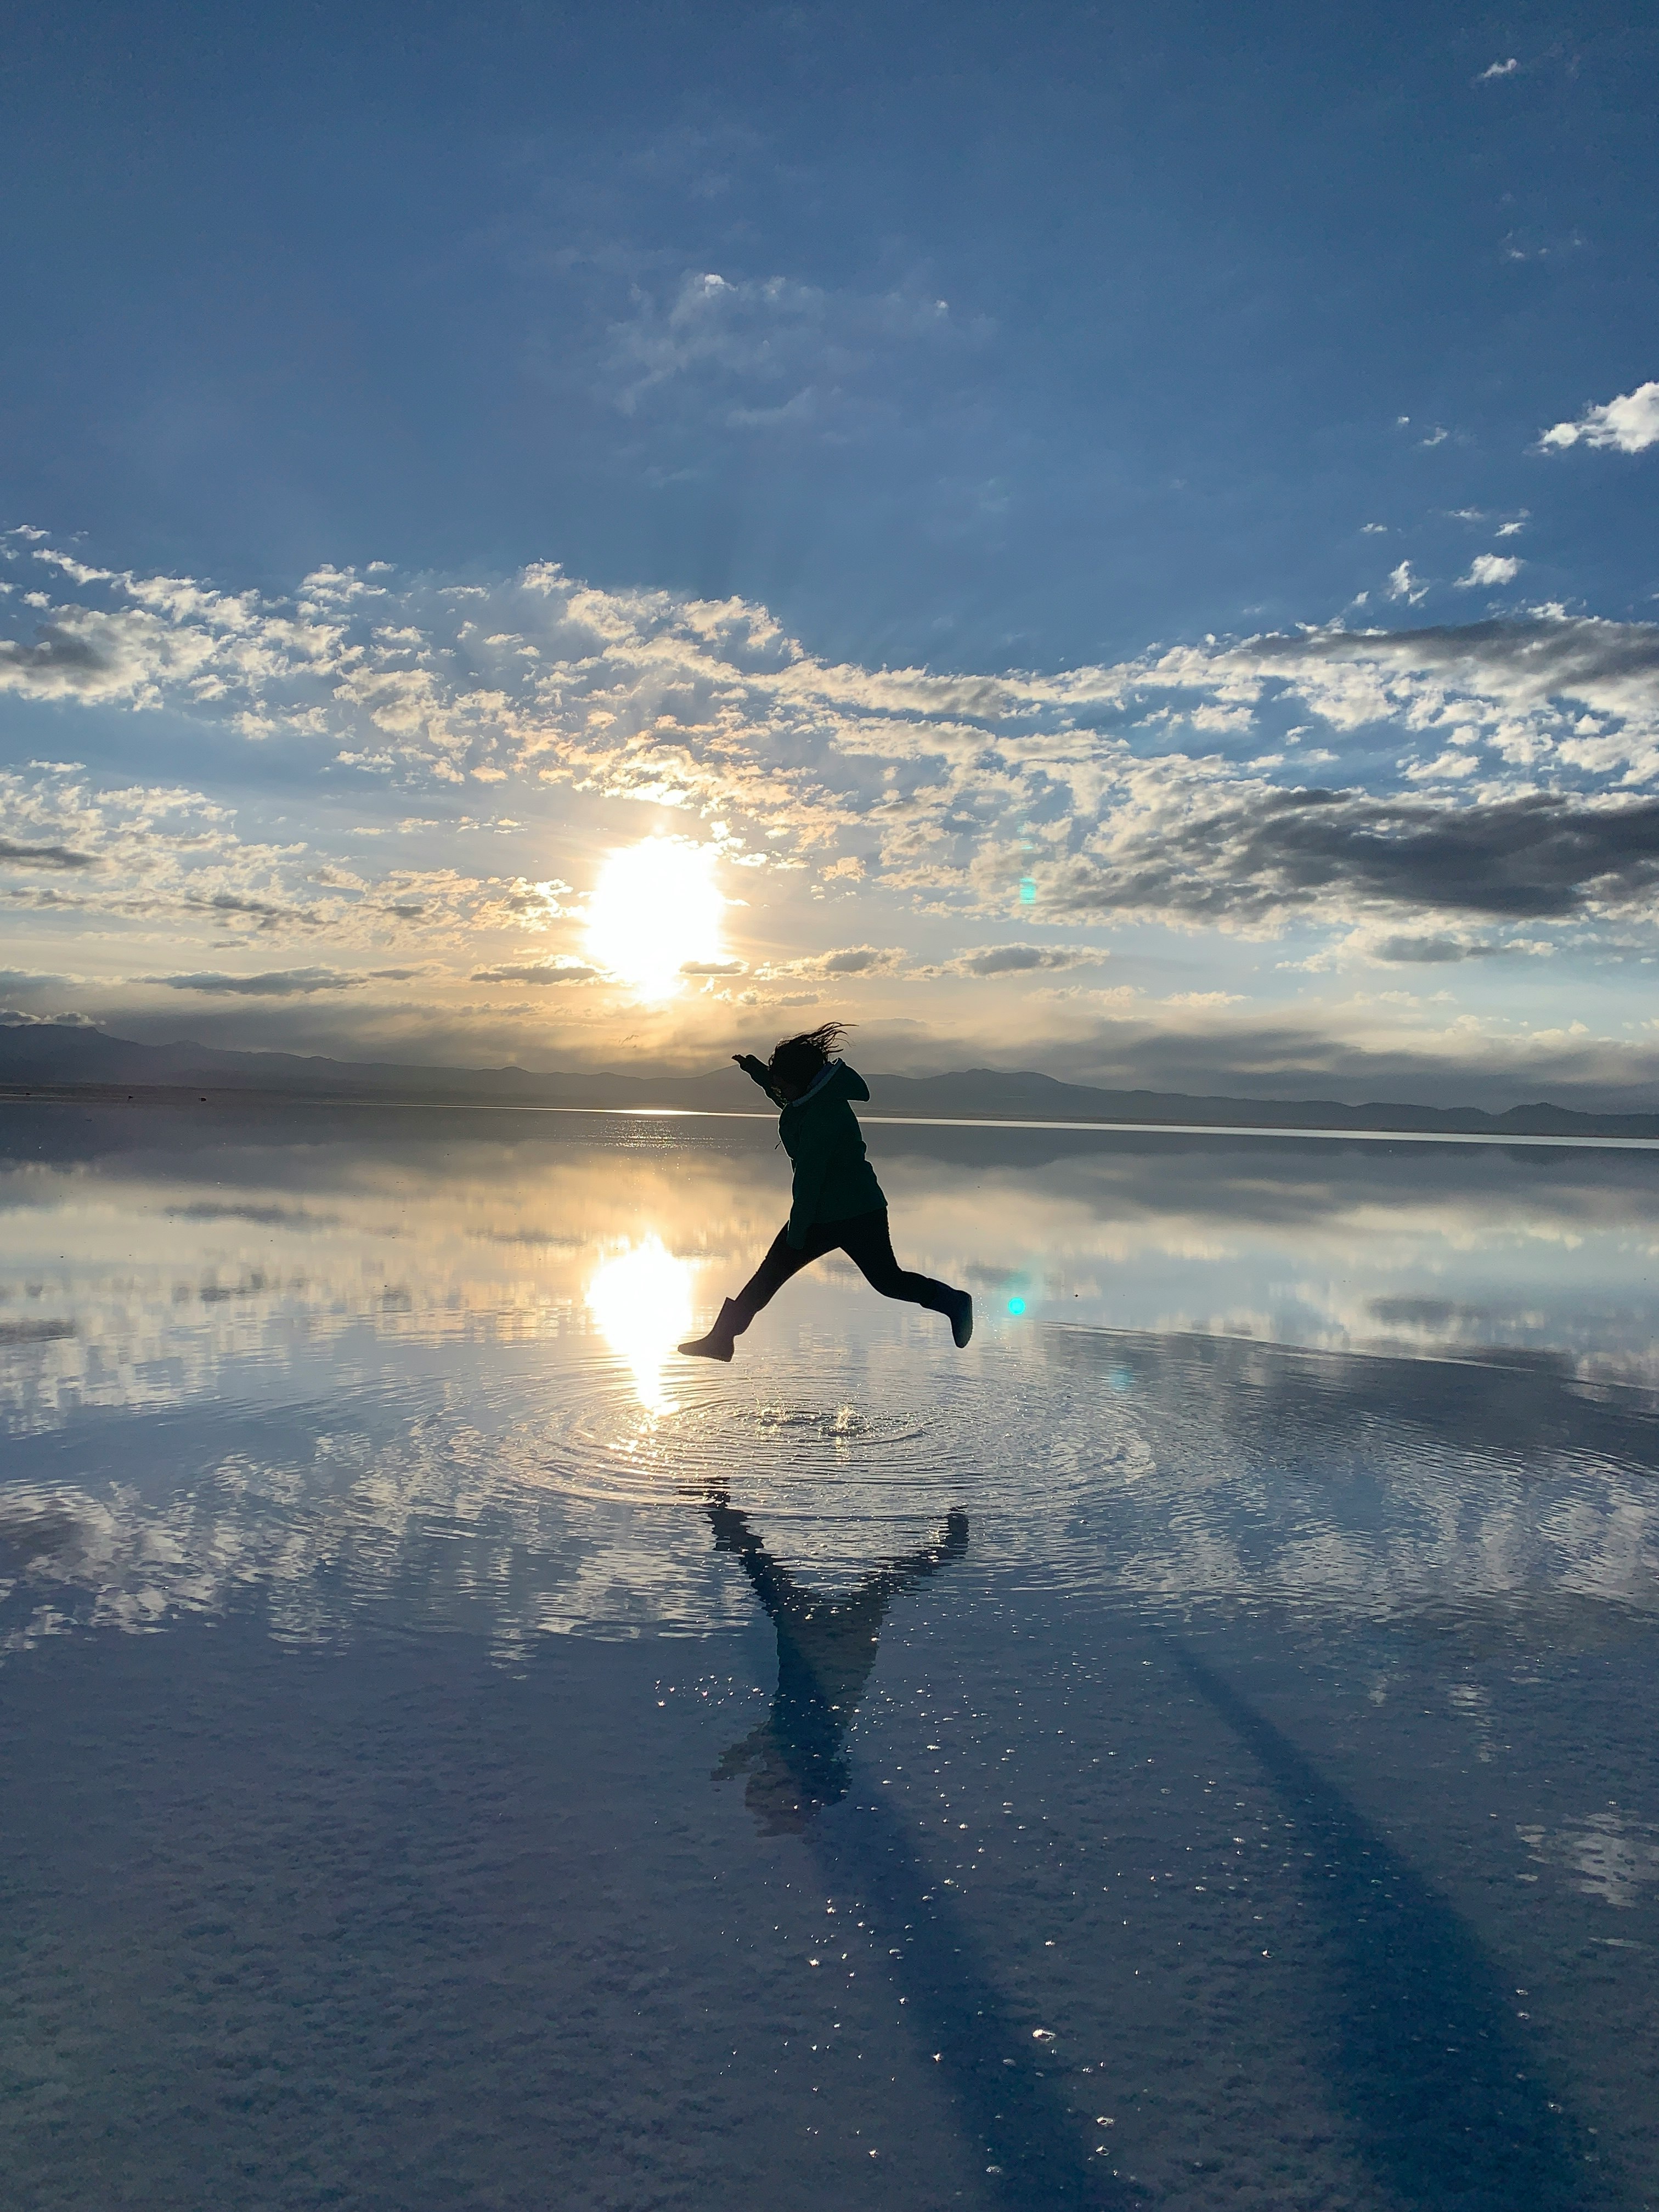
Jumping Shots

How to get this shot:
- Photographer is flat on their stomach.
- Camera is on the ground or as close to the ground as possible.
- Ensuring subjects get maximum air is a matter of timing. Multiple shots to get the perfect one may be a good idea.
Need a place to stay in Uyuni?
- For budget travellers, check out Eucalyptus Uyuni and Hotel Cesare.
- If you’re looking for comfort and convenience, check out Hotel Nido de Flamenco and Casa de Sal – Salt Hotel (but this isn’t the original Salt Hotel).
Love it? Pin it!

Do you have any fun shot ideas for the perfect Salar de Uyuni photo? I’d love to hear them in the comments below…


